Your data can be exported directly from your profile. The main categories available for export, but not limited to, are;
- Member information
- Accounts
- Leads
- Store
- Bookings and attendance.
The CSV export button can be found on the pages that are available for export, however, a more comprehensive export can be found under reporting as explained further below. Should you be looking for additional reporting to be exported, please email us at support@octivfitness.com so that we can assist you.
Exporting members data:
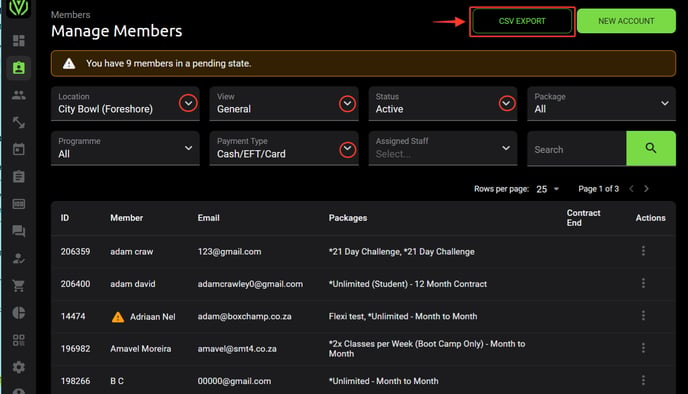
You can export your members' data under the manage members page. Here you are able to select what information you would like to export by adjusting the filters found at the top of the manage members page. Sort your information further by filtering the following options; location, status, package, programme, payment type and assigned coach.
Members > Manage > adjust search filters accordingly > CSV Export.
Exporting financial information:
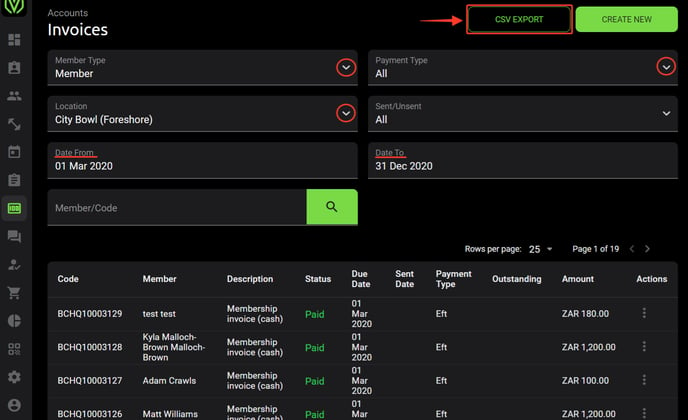
Export your invoices, payments, credit notes, and debit batch data respectively under each of the account's pages. Here you are able to adjust what information you would like to export by adjusting the filters on the respective page. You are also able to export the information by using more than one filter. As highlighted in the screenshot below:
Accounts > Invoices > adjust search filters accordingly > CSV Export.
Accounts > Credit notes > adjust search filters accordingly > CSV Export.
Accounts > Payments > adjust search filters accordingly > CSV Export.
Please note that only one statement per member can be downloaded at a time. If you would like to bulk send your members' statements you will have to do this via the bulk actions selection under the manage members page.
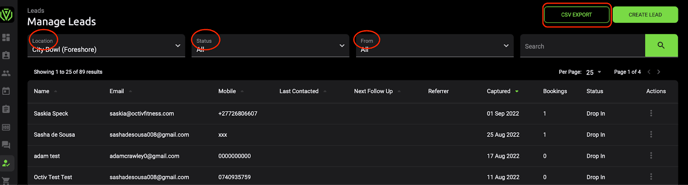
Export lead information:
Export your leads, drop-ins and potential members via your leads tab. Here you are able to adjust what information you would like to export by adjusting the filters on the respective page, as highlighted in the screenshot below:
Leads > Manage > adjust search filters accordingly > CSV Export
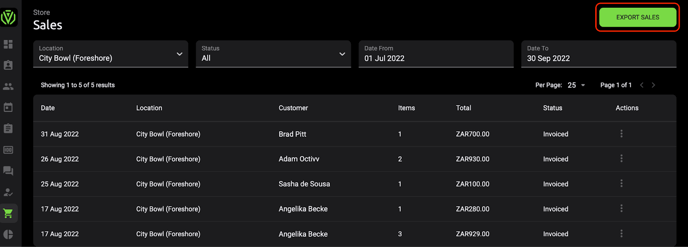
Store (Sales Export):
Export your sales history via the store. Here you are able to adjust the sales filters according to the sales status and date period.
Store > Sales > adjust search filters accordingly > Sales Export
Comprehensive data export:
If you are looking for a more comprehensive and detailed export of your members, finances, bookings or leads, this can be found via exports located under reports.
There are a number of comprehensive exports that can be downloaded, namely; members, finances, bookings and leads. This export will be downloaded as a csv document that contains all the relevant information as explained above, as well as more in depth information.
The members report will export data from one location or all locations and will include additional information such as member status, financial information, booked sessions, when they were created and or deactivated, if they have accepted their T&Cs etc.
The finance report will contain information specific to the members invoices e.g. not only their invoice status and type of payment, but also the created date, debit batch date.
The booking report will contain members' attendance information for both active as well as deactivated members, who the booking was made or cancelled by, for which class, as well as the class details.
The leads export will pull all leads created as well as their bookings if any have been made.
For a more comprehensive data export (members / finance / bookings / Leads):
Reports > data export > select the type of data that you would like to export > CSV Export
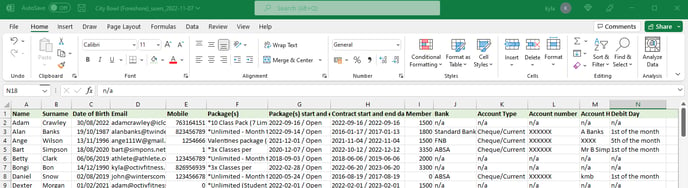
Editing the csv document in Excel - if need be:
Should the data of the exported CSV file seem to be populated all in one cell or "scrambled" - don't stress! This is just a formatting setting that excel may revert to when opening the file. You may have to format the contents of the file so that the columns as well the information appears in the relevant fields.
There is an easy solution;
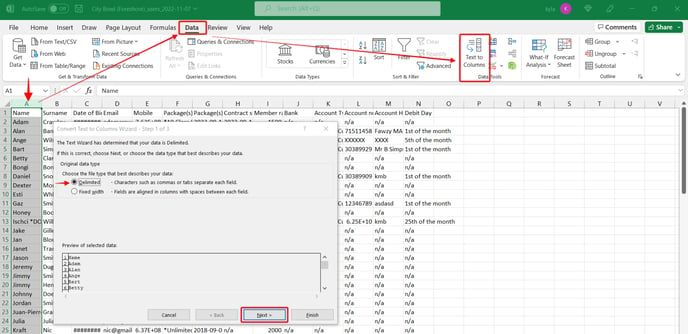
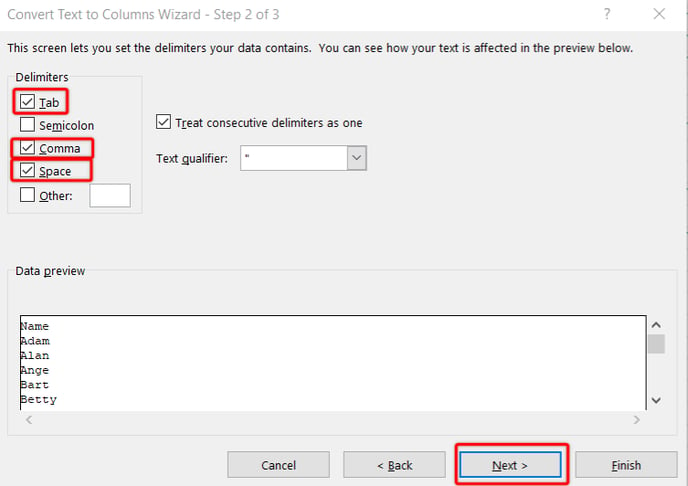
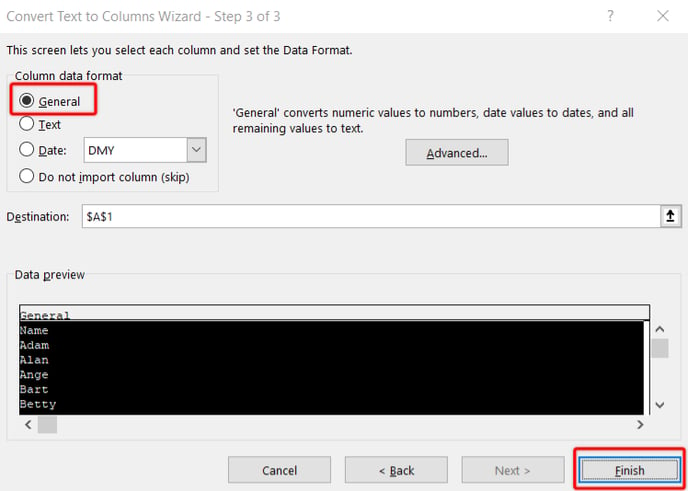
In excel > select the first column > "data" > select "text to column" >
Then select "delimited" > Next > Select "tab", "comma", "space" > Next > Finish.